


Where you place your lights matters more than how many you own. The same LED panel can flatten a face or shape it, depending on its angle and distance. This guide covers the classic three-point setup, how to position each light, the mistakes to avoid, and the kit you need to get started.
Video Lighting Basics
Light placement sets mood, depth and how well your subject stands out from the background. One rule guides most decisions: light gets dimmer quickly with distance. Intensity falls with the square of the distance, so doubling the distance from light to subject cuts the light to about a quarter. Move a light closer for a brighter, softer look, or further away for a more even one.
The Three-Point Lighting Setup
Most professional video lighting starts with three lights: a key light, a fill light and a backlight. Together they give your subject shape while keeping contrast under control.
Key light
This is your main light and sets the direction and mood. Place it about 45 degrees to one side of the camera and about 30 degrees above your subject's eye line. This angle creates natural shadows that define the face without harsh dark patches. LED panels can sit close to the subject, while hot lights such as tungsten need more distance.
Fill light
The fill light softens the shadows the key light creates without removing them. Place it on the opposite side, dimmer than the key. A lighting ratio of about 2:1 or 3:1 looks natural. A softbox or diffusion panel spreads the fill light and makes it more flattering.
Backlight
A backlight, also called a hair or rim light, separates your subject from the background with a thin edge of light. Place it behind and slightly above your subject, on a boom or a tall stand so it stays out of frame. Angle it carefully to avoid lens flare.
Beyond Three Lights
Larger productions add a background light, practical lights (lamps or windows visible in the scene) and accent lights. A gradient of light on the background adds depth. Use barn doors or snoots to stop light spilling where you do not want it. If you add practical lights, balance their brightness against your main lights so exposure stays even.
Gear to Get Your Lights in Place
Stable stands and the right modifiers matter as much as the lights. Here are some in-stock picks from Hridz:
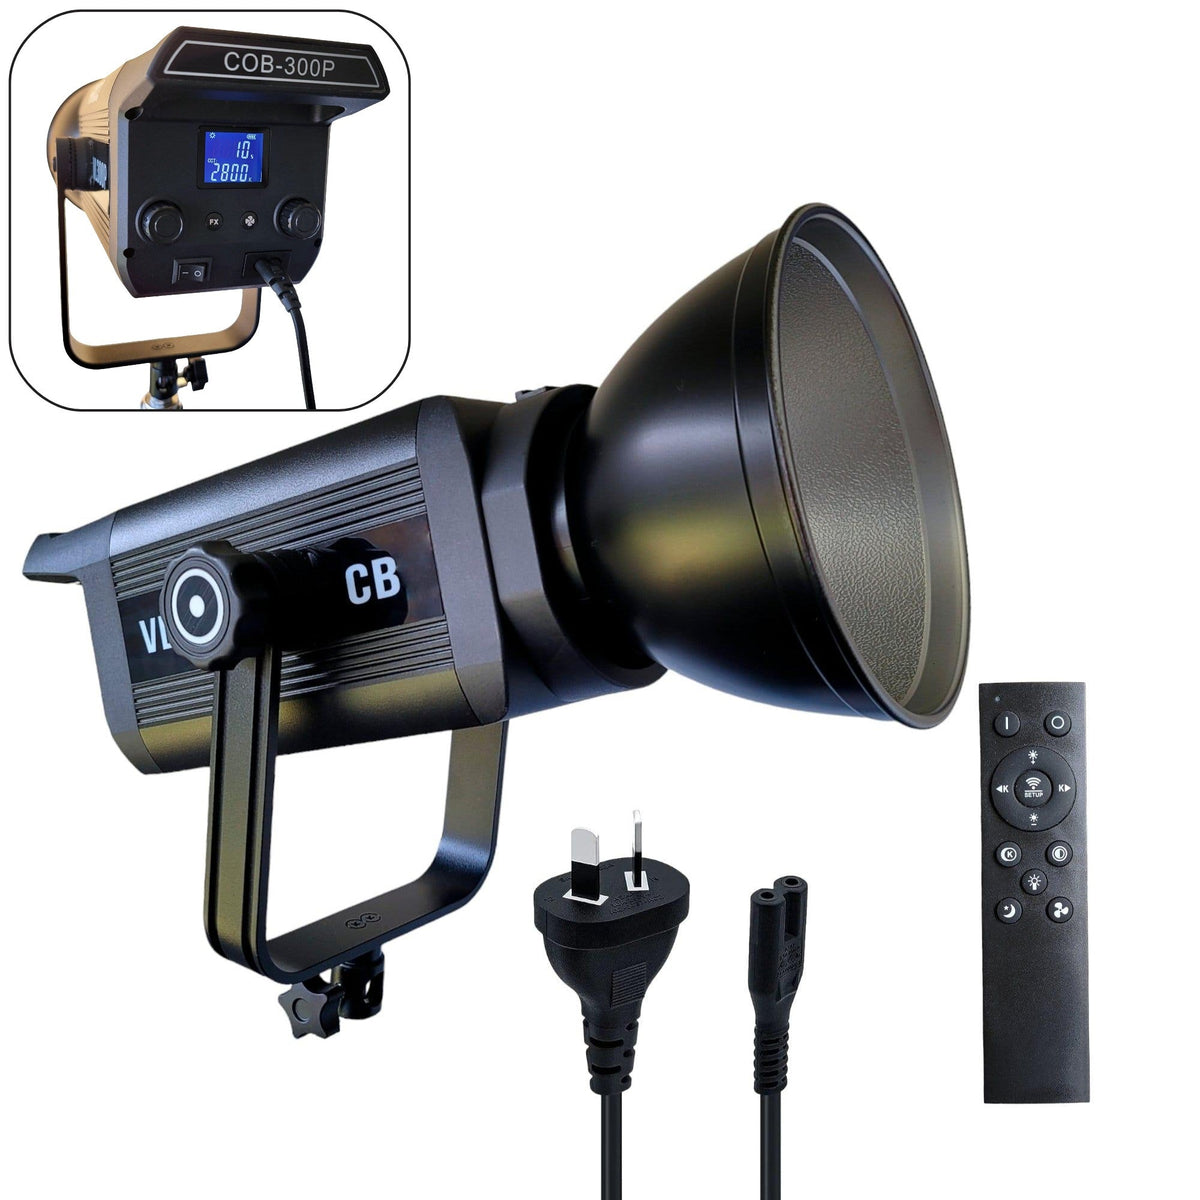
- Hridz RGB LED video light: dimmable, bi-colour and adjustable RGB with remote control, a flexible key or accent light.
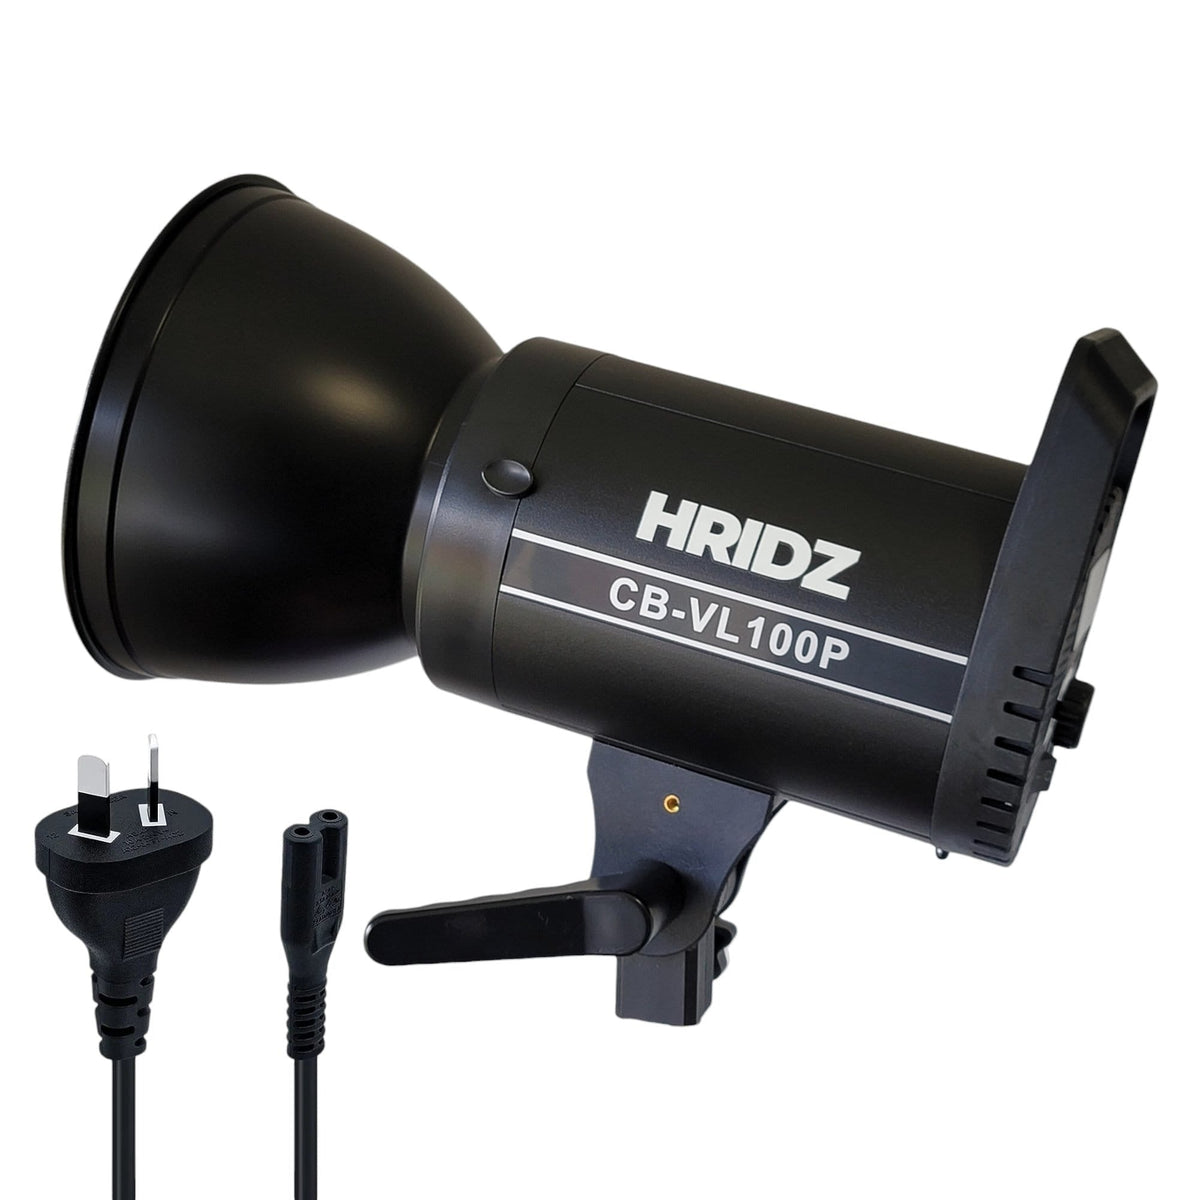
- Hridz 100W COB LED video light with softbox: a bi-colour key light with a softbox, ready to use.
- Hridz quick-setup octagon softbox and GLS65 globe lantern softbox: soften and spread your key or fill light.
- Hridz W270RGB RGB stick light: a small rechargeable light for accents, backgrounds and rim light.
See more in our video light and equipment collection, plus softboxes and diffusers and light stands and booms.
As a rough guide, start with these distances and adjust to your room and subject:
| Light type | Starting distance | Best for |
|---|---|---|
| LED panel | 2-6 ft | Interviews, close-ups |
| Fresnel | 6-12 ft | Key light, backgrounds |
| Softbox | 3-8 ft | Portraits, fill light |
Common Placement Mistakes
- Light directly overhead: creates dark shadows under the eyes and nose. Angle the light down from the side instead.
- Subject too close to the background: makes the image look flat and casts shadows on the wall. Leave space so you can light each separately.
- Double shadows: a sign that two lights are competing as key lights.
- Mismatched colour temperature: mixing warm and cool sources makes skin tones look inconsistent. Match your lights, or gel them.
- Glare and hot spots: glasses, jewellery and shiny surfaces reflect light. Reposition or diffuse the light.
Lighting for Common Situations
Product video: use a light tent or large diffusion panels for even light and fewer reflections.
Interviews: a single large softbox as the key light gives a professional look quickly and with minimal gear.
Events and documentary: battery-powered LED lights keep you mobile, and remote control lets you adjust without interrupting the shot.
Plan Your Lighting Workflow
Sketch a simple lighting plan before you shoot, with the lights you need, their power source and where each goes. A light meter or your camera's exposure tools help you keep exposure consistent across angles and locations. Then note your setup so you can repeat it.
Ready to build your kit? Start with our video light and equipment range.





Share:
Camera Microphone Setup: Complete Guide for Filmmakers
Nikon Battery Compatibility: EN-EL23 vs Other Models